Showing posts with label dyi. Show all posts

Monday, February 11, 2013

DIY: Facial Scrub

Perfect for those days when you need to feel refreshed or a Girls-Night-In get together, these two facial scrubs with have your skin feel softer and revitalized!


Ingredients for Merry Mint Facial Scrub
1 1/2 tbsp Honey
1 tea bag Mint Tea
1 tbsp Granulated Sugar
Ingredients for Warm Green Tea Facial Scrub
1 1/2 tbsp Honey
1 tea bag Green Tea
1/2 tbsp Brown Sugar
1/2 tbsp Granulated Sugar

Other items needed - A kettle, facial pads (if preferred), 2 mugs, 2 small bowls, a towel 
(Note: Only need two of each item if you are making both facial scrubs)

How To Start - 
1. Turn on your kettle and bring water to a boil. Once water is boiled pour it into a mug with the tea of the mixture of your choice.

2. Wait for tea to cool (The tea must be cooled enough that it will not melt the sugar or brown sugar)
3. While waiting for tea to cool, in a small bowl mix honey & sugar for the Merry Mint Facial Scrub (Right in Image) OR mix honey, brown sugar and sugar for the Warm Green Tea Facial Scrub (Left in Image)


4. Now that the tea is cool, and 1 tsp of each tea into the bowl with your mixture. Mix together. (If you wish for your scrub to be less thick, then add more tea)


5. Your facial scrub us now ready to be applied. Using your fingers (or facial pads) to rub the mixture onto your face. Gently rub around in small circles, making sure to get all over your face. 
6. Once the mixture has been rubbed in thoroughly, rinse your face with luke warm water
7. Use towel to dry off
8. Feel your face, you'll be impressed by soft it is! 

Thursday, February 7, 2013

How To Crochet

Welcome to The Dynamic Diamond DYI Blog! As this is my first post I planned to show you all how to crochet! I have plans to do more difficult patterns in later blog post, but it is best to start with how to crochet for those who don't know yet.

First you will need to know the abbreviations used in crochet patterns -
St - Stitch
Sl Sp - Slip Stitch
Ch - Chain Stitch
Sc - Single Crochet
Dc - Double Crochet
Fl - Front Loop**
Bl - Back Loop**
Yo - Yarn Over
*These are not all abbreviations used in crochet, but they are the most commonly used
**In one crochet stitch a loop that is NOT nearest you is the back loop, while the loop facing nearest to you is the front loop (All stitched shown are down using both back loops and front loops in a crochet stitch)

Items needed for this tutorial -
A crochet needle (Any Size)
Yarn (Any kind)

Single Crochet Stitch

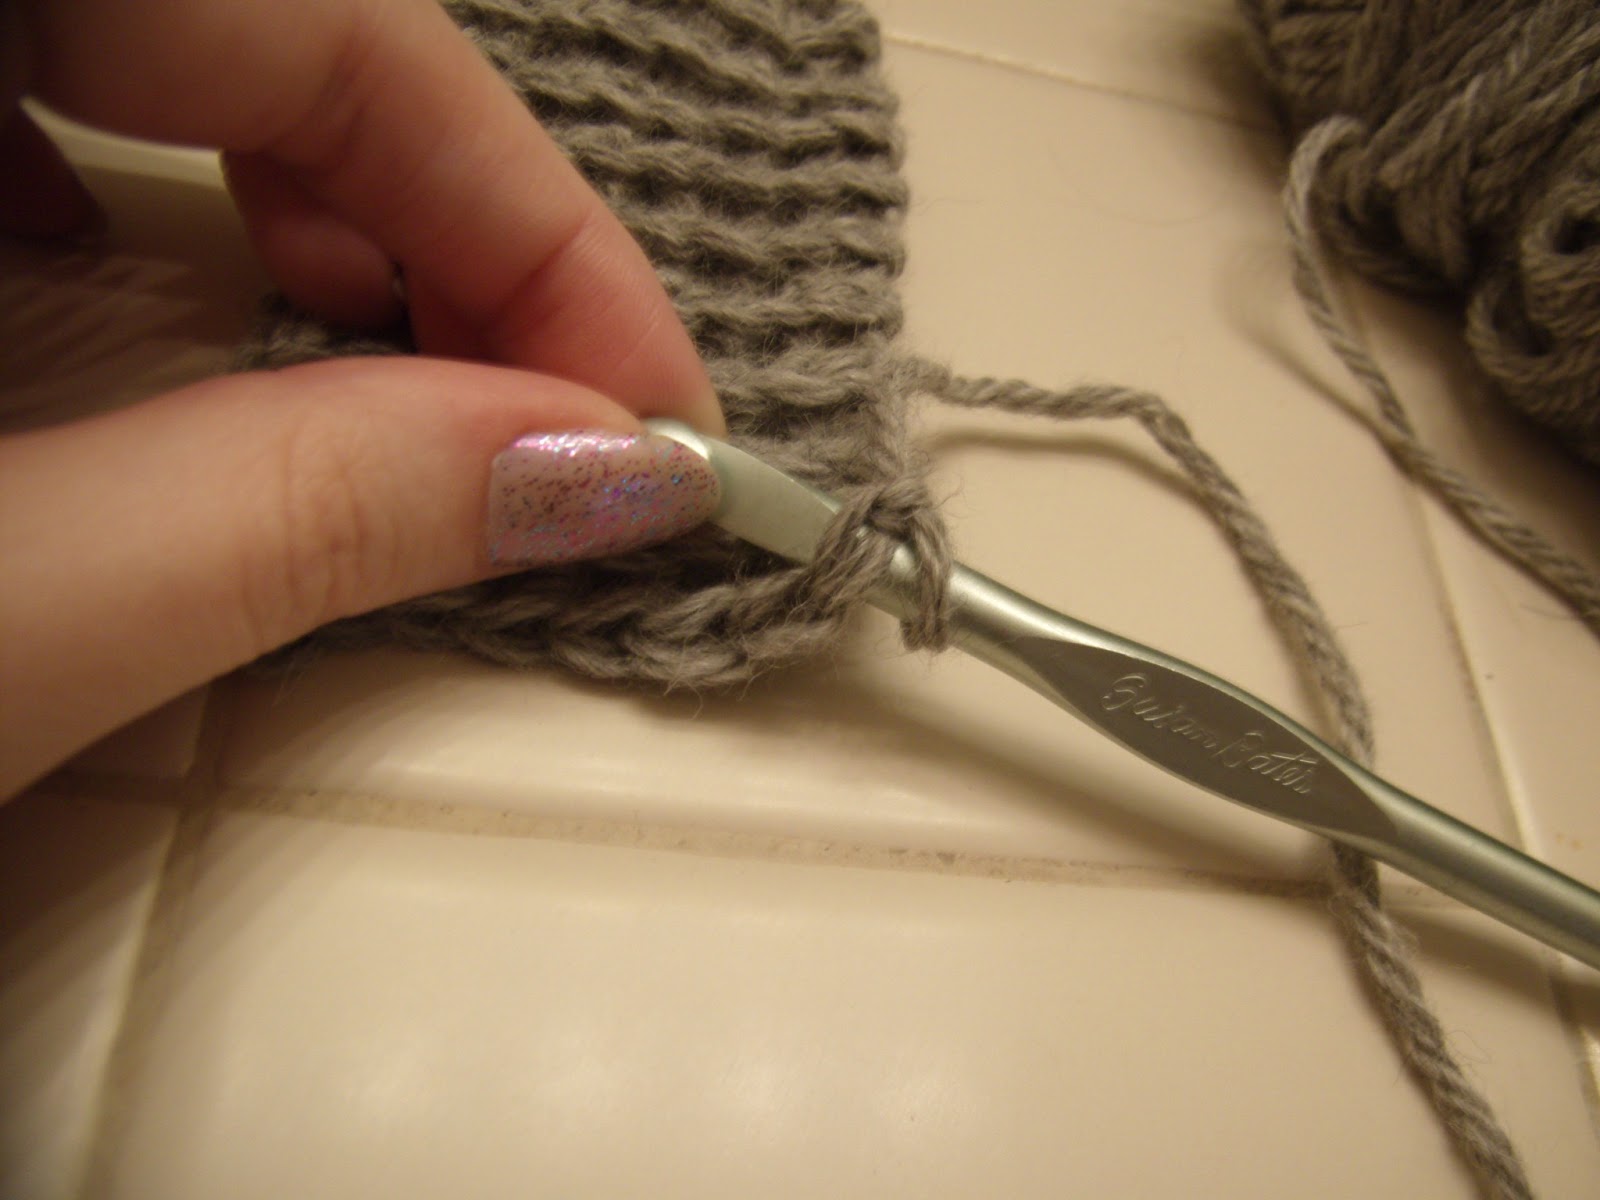
In the photo I have a  piece of work that I have just started, I feel it is easier to see how to do a stitch on a work that is already started rather that just starting. 

First Step: Insert hook into first stitch


Second Step: Yarn over (with hand not holding the hook, place yarn over the top of the hook).
Pull through the first crochet (two loops) [First image shown]
This should create a loop on your hook (two loops should be remaining on your hook)

[Second image shown]

Third Step: Yarn over and pull through that last two loops on your hook

Congratulations! This creates your first single crochet!

Double Crochet Stitch

Step One: Start by yarning over. Insert hook into next crochet stitch.

(Image above displays yarn over, two loops from crochet stitch, first yarn over, and then original loop in that order)
Step Two: Yarn over and pull through crochet stitch (two loops)

Step Three: Yarn over and pull through last two loops

Congratulations! You've now finished your first double crochet stitch!