Showing posts with label cooking. Show all posts

Thursday, January 28, 2016

DIY: Refrigerator Sweet Pickled Beets

Hello everyone! At work, a few months ago, I tried sweet pickled beets for the first time and fell in love! Although I didn't want to pay the price at the store for pre-pickled beets when its MUCH cheaper to just make them yourself! Plus it feels more gratifying to eat them knowing you did all the work and the flavor tastes better since its specialized to what you like best.


Items Needed:
A pot to boil beets
A pot to make the brine
Cutting board & knife
1-2 Beets
1 Cup Vinegar
1/4 Cup sugar
1 Tbsp Cloves (ground)

Optional Items to add:
2-3 bay leaves
1-2 cloves of garlic
1/3 Cup of shallots
1 Tbsp cinnamon
Gloves (for when cutting the beet, beet juice will stain your hands)

NOTE: These measurements of ingredients are for 1-2 beets, if you are doing anymore than that please adjust the measurement accordingly

Directions:
1) Peel your beet and cut it (I cut mine into bite size bits, but you can go larger depending on the size of your jar)
2) Boil your beet until soft
3) Once beets are boiled toss them in your chosen jar until the brine is finished
4) Make the brine - combine vinegar, sugar, cloves, and other optional items that you think you would enjoy. Heat at a little lower than medium heat until the sugar is melted and the smell of vinegar is quite pungent. 
5) Pour brine over beets and seal jar
6) Let sit until cool enough to put in the refrigerator
7) Wait AT LEAST a week before enjoying your sweet pickled beets. Waiting longer does intensify the flavor. 
Note: If your using a canning jar, like the one shown above, the heat from the brine should cause the jar to seal once its been refrigerated.

Congratulations! With a little bit of a wait you can soon enjoy your sweet pickled beets! Theyre great to add to a salad or just to eat on their own! 

Wednesday, June 18, 2014

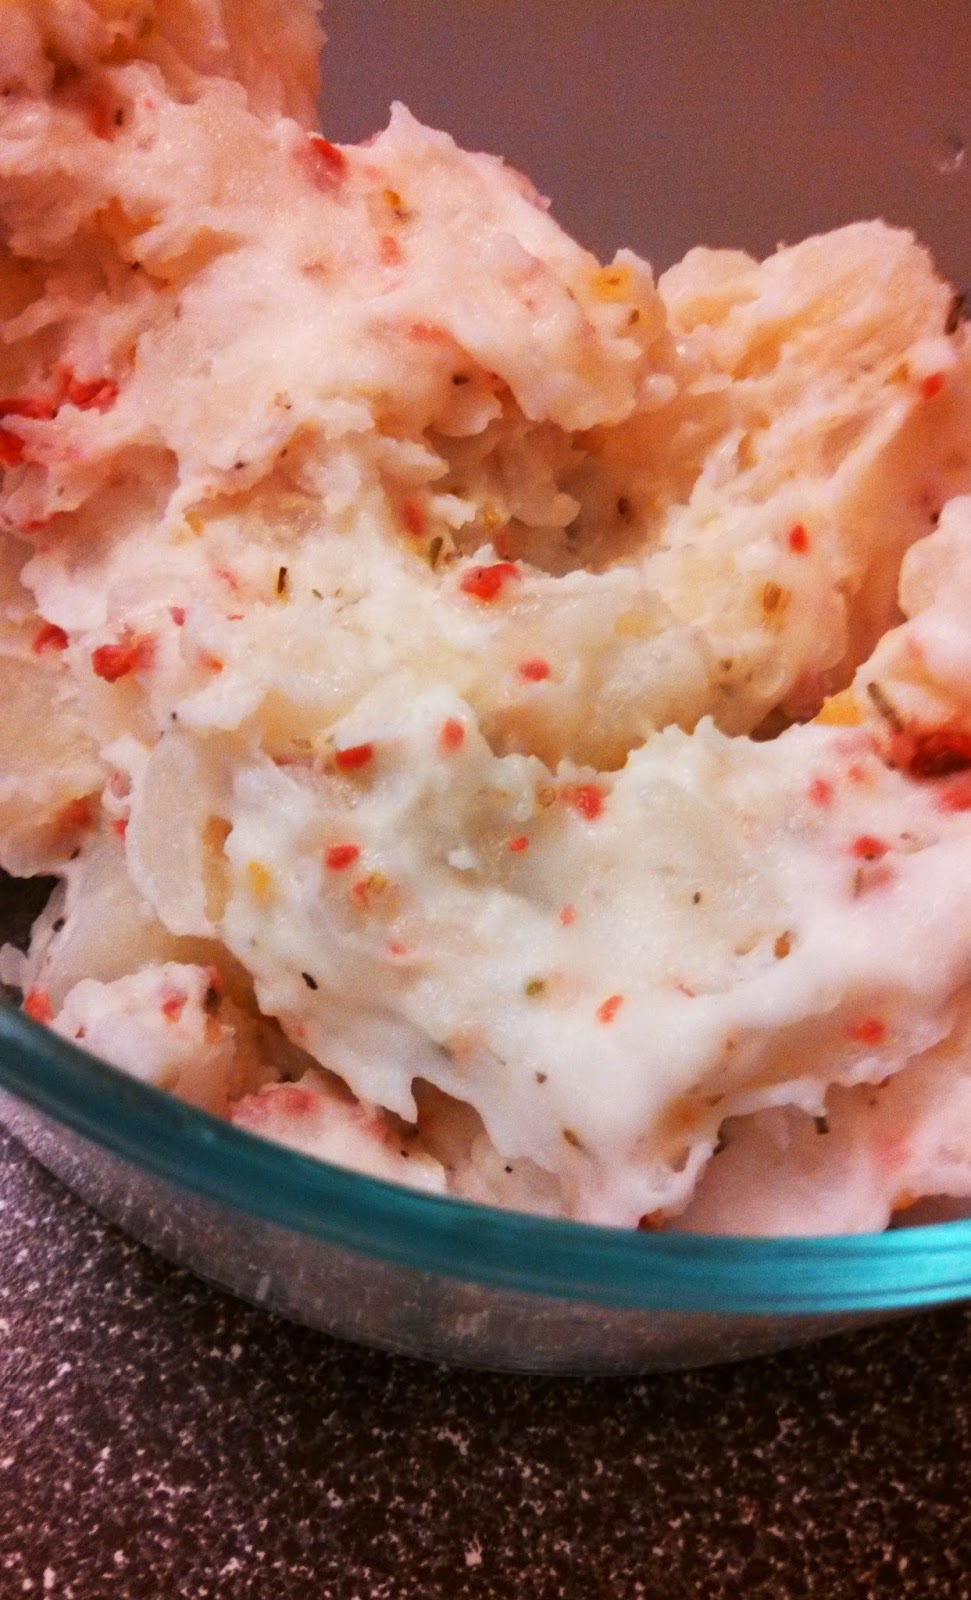
Homemade Creamy Potato Salad

Its June! Which means picnics on the beach, bonfires, and late night parties. What better way to be prepared then with delicious potato salad!
Homemade Creamy Potato Salad


Ingredients:
(This is enough for 4 people)
6 medium sized golden potatoes
2 tablespoons bacon bits
1 tablespoon oregano
6-7 tablespoons mayonnaise
1/4 cup of shredded cheese
A pot
Water
Potato masher or whisk

Directions:
1. Peel potatoes, cut up into 1" by 1" squares and let boil for an hour, strain
2. Once the potatoes are slightly cooled, but still warm, mash them until creamy
3. Once the potatoes are creamy, add mayo, oregano, bacon, and cheese
4. Mix until cheese is melted

Congratulations! Now you have delicious potato salad to enjoy with your friends this summer, or to just eat at work!


Saturday, May 18, 2013

How To Make Blini (Russian Crepes)

Blini, essentially the Russian form of crepes, are thin like pancakes that can be eaten with sweet or savory foods. This recipe comes from my boyfriends mother whom is a master blini maker. I have become an intermediate blini maker and therefore my "bleens" are cooked in half circles. If you feel risky, try making full circles in your pan.

How to Prepare and Cook Blini

Ingredients:
3 Cups Milk
3 Eggs
2 Cups Flour
1/2 Tsp Salt
1 Tbsp Sugar
1 Tbsp Butter or 1 Tbsp Olive Oil

A Mixer
A Non-stick fry pan
1 Spatula (for mixing the blini batter)
1 Turner Spatula (for flipping the blini)
1 Ladle

To Make Blini Batter:

1. In a mixer bowl add milk, eggs, sugar, and salt


2. Turn on the mixture and slowly add the flour, make sure you don't add it too fast or clumps will occur. Use your spatula to make sure all flour is mixed in. (Set aside butter)

To Cook Blini:

1. Using the butter you set aside, take a small amount and have it melt in your pan. This will ensure that your blini do not stick.


2. Once your butter is melted and your pan is medium-hot, use your ladle and add the batter to your pan (if you are uncomfortable with making full circle then start with half circles)


3. It takes about a minute to a minute and a half to cook, once most of the blini batter is cooked (which you can tell by looking at the top, after bubbling it should change a shade darker) then flip it over. Half circles are easy to flip but if you are trying full circles I would suggest making sure your spatula is mainly in the center and flip quickly.


4. Once you fill the blini over it takes about thirty second to cook. Slide the blini onto a plate and enjoy!

Personally, I ate my blini rolled up with nutella and whip cream (shown below) but my boyfriend prefers them plain. Surely they are yummy prepared anyway.


Delicious!